

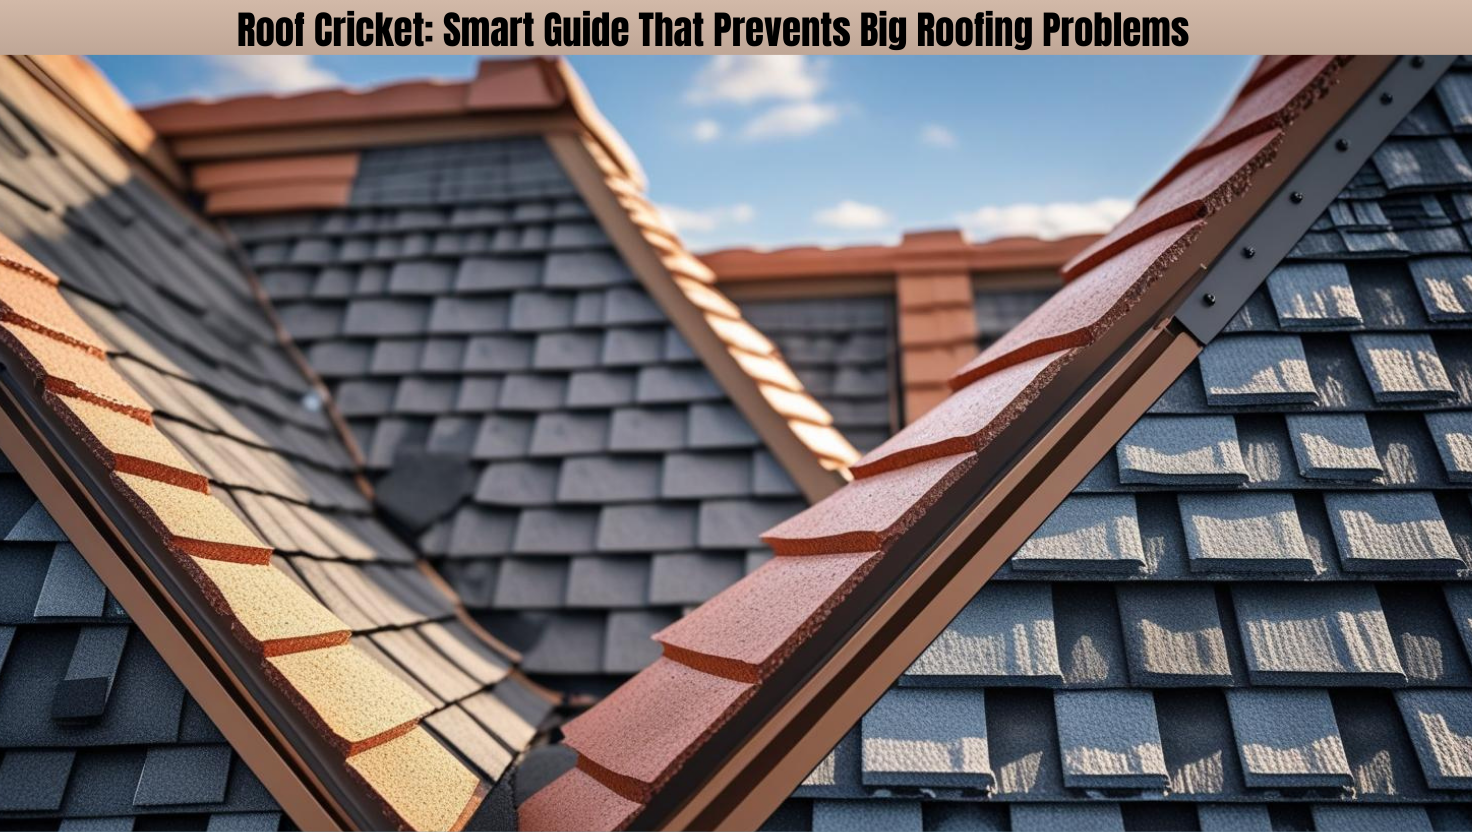
When people spot a small, raised section behind a chimney or skylight, they usually don’t give it a second thought. But that little bump, known as a roof cricket, could be the unsung hero saving homes and businesses from costly leaks and major water damage. For anyone with a roof, especially those with chimneys or other large roof penetrations, knowing how a roof cricket works is key to long-term roof health and peace of mind.
Understanding Roof Cricket: Function and Types
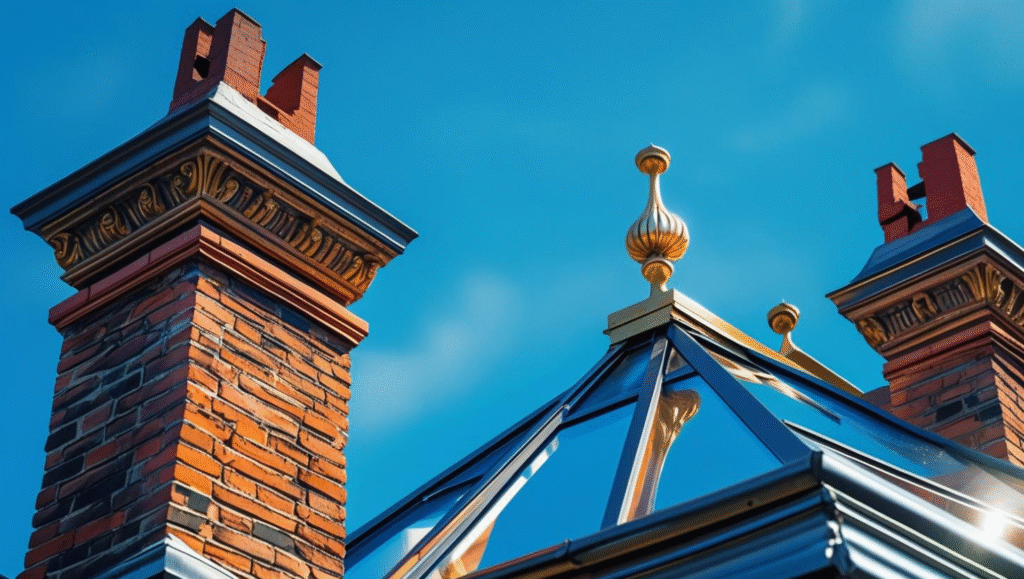
A roof cricket, also known as or called a saddle, is a small peaked structure placed behind chimneys, skylights, or equipment curbs. Its main purpose is to redirect water around these obstacles so it doesn’t collect and seep into the building. A roof cricket functions like a small mountain in a stream: it directs water to flow around it, preventing any buildup or blockage behind it.
Roof crickets resolve one of the biggest problems on roofs: water pooling just uphill of vertical penetrations. Without a cricket, heavy rain, melting snow, or debris can gather against the high side of the projection, which can quickly cause leaks, rot, and even structural damage. Problems like these aren’t limited to one roof type. Whether it’s residential or commercial, crickets are often required by building codes for structures like chimneys over 30 inches wide.
For more on their history and technical design, you can read about roof crickets on Wikipedia.
Key Functions of a Roof Cricket
A well-designed roof cricket offers more than just redirection of water. Here’s what it brings to a roof:
- Diverts water away from vulnerable spots: Rain and melting snow flow around rather than pool behind roof features like chimneys and skylights.
- Prevents leaks: By channeling water, crickets dramatically reduce the risk of leaks tied to slow drainage and pooling.
- Protects roof penetrations: Chimneys, skylights, and even HVAC curbs are protected from the influx of water that might otherwise wear down waterproofing.
- Reduces debris buildup: Leaves, twigs, and other debris have less chance to settle behind projections where they could trap moisture.
You can find more about how roof crickets prevent water damage at GAF’s guide to roof crickets.
Common Roof Cricket Designs
Not every roof cricket looks the same, and the proper choice depends on the place, location, and roof pitch. The main shapes include:
| Design Type | Description | Best Use Case |
| Quarter cricket | One side sloped, forming a 90-degree triangle | Skylights near eaves |
| Half or single cricket | Peaks against one projection only | Chimneys set in from the roof edge |
| Full diamond | Symmetrical peak, both sides slope downward | Large, centered chimneys or curbs |
Matching the cricket’s slope to the main roof pitch is important. If the slope isn’t right, water may pond rather than drain, leading to the issues the cricket is supposed to solve in the first place. The cricket should be as steep or steeper than the main roof, especially on lower slope roofs.
Read more about these designs and when to use each at IKO’s recommendations on chimney crickets.
Installation Best Practices and Maintenance Tips
Proper installation is essential for a cricket to work. Skipping steps or using the wrong materials can lead to leaks worse than the ones the cricket was meant to solve. Maintenance also plays a big part in keeping the cricket in top shape over the years.
Essential Installation Steps
A sturdy, well-built cricket follows a clear process. Here’s what should happen, step by step:
- Framing: The cricket is framed with treated lumber or compatible rigid insulation, sized to meet the roof’s pitch and the width of the penetration.
- Sheathing: The frame is covered, usually with plywood or matching roof sheathing.
- Waterproofing: Ice and water shield or a similar underlayment covers the cricket to add a water barrier.
- Flashing: Install metal flashing on all transitions, especially where the cricket meets the chimney or skylight. Use step flashing along the cricket edges and counter flashing into any masonry.
- Roof Covering: Shingles, metal panels, or roof membrane are installed over the cricket to match the surrounding area.
A detailed walkthrough of these best practices is available from Rapid Roofing.
Choosing the Right Materials
Material choices matter for durability and performance. The most popular options include:
- Metal (galvanized steel, copper, or aluminum): Long-lasting, easily formed, ideal for complex roofs and commercial jobs.
- Wood (pressure-treated lumber): Standard for framing residential crickets, especially under shingles.
- Rigid insulation: Often used on flat or low-slope roofs, particularly with single-ply membrane systems.
Always match cricket materials to the rest of the roofing for consistent and long-lasting results. Compatibility helps avoid issues like galvanic corrosion (when different metals react with each other). The roof’s main covering should extend over the cricket, not the other way around, to shed water cleanly.
Maintenance and Inspection Guidelines
Routine care keeps a roof cricket working well, year after year. Make sure to review these at least twice in a year:
- Clear debris: Remove leaves, twigs, or snow after storms to prevent damming.
- Inspect flashing: Look for cracks, missing pieces, or rust that could let water seep in.
- Check for ponding water: Any standing water signals a slope or drainage issue that needs prompt attention.
- Watch for moss or algae: Growth indicates lingering moisture and should be safely removed.
Simple routine maintenance can prevent roof damage and extend the life of both the cricket and your roof.
Conclusion
A roof cricket may be small, but its impact is huge. This simple structure diverts water, reduces leaks, and protects some of the most leak-prone areas around chimneys, skylights, and curbs. Homes and businesses alike benefit from thoughtful roof design, and in many regions, crickets for wider chimneys are even a code requirement. Using quality materials, following time-tested installation steps, and keeping up with routine inspections will help your roof cricket last for years.
Professional help is always recommended for cricket design and installation, especially when dealing with complex roofs or unfamiliar materials. With a reliable roof cricket in place, you can rest easy knowing that your home or building is safe from some of the sneakiest and most expensive forms of water damage. To explore more on this topic, check out resources like Bill Ragan Roofing’s explanation of roof crickets for even deeper insights.
